
Photos can paint a powerful picture of your local food environment. When you conduct an assessment on your installation or ship, take photos of the venues you visit to help tell your story. Photos can help visually explain why a specific food service venue scored low or high, show “before and after” success stories, showcase “wins,” and highlight areas of opportunity to make improvements.
Before you take photos
As your team prepares for the assessment, make sure you have everything in place.
- Ask food venue operators for permission to take photos and follow installation or Service guidance on photography. Your public affairs office also might offer additional guidance.
- Set up an electronic filing system to store your photos and consider organizing by venue type, so you can easily pull them for stakeholders, reports, and briefs as needed.
- Remember to clean your smartphone lens.
When you take photos
Keep in mind that clear, focused photos help document the current food landscape and can set a baseline for your action plan later on.
- Use natural light, if possible. Aim for good lighting in front of the desired object, not from behind. If the space is dimly lit, try turning on your flash.
- Focus on one subject at a time.
- Get closer to your intended subject instead of zooming in so the picture is clearer and sharper.
- Allow for some “negative or empty” space, so the subject doesn’t take up the entire frame. This helps the main focus of the photo stand out more.
- Take photos of food at an angle since they’re usually more appealing than those taken from the top. Try different angles—slightly upward, downward, or straight-on.
- Consider landscape vs. portrait view because wider angles might help showcase the full scene.
- To highlight action plan interventions, ask permission to take action shots of people engaging in the environment (customers getting food or using the food venue), and avoid showing (or blur) faces and names.
After you take photos
Once your assessment is complete, review all photos and only keep the ones that best describe or explain what you’re trying to highlight.
- Edit, crop, or use other smartphone features to emphasize particular elements or improve the overall structure of your photos.
- Use a standard file naming convention and include a unique description, so you and your team can easily locate photos: for example, Fort Army_main building vending_healthy beverages at eye level.
- Use these photos when you communicate your scoring summaries, brief leadership, collaborate with stakeholders, and report your action plan status.
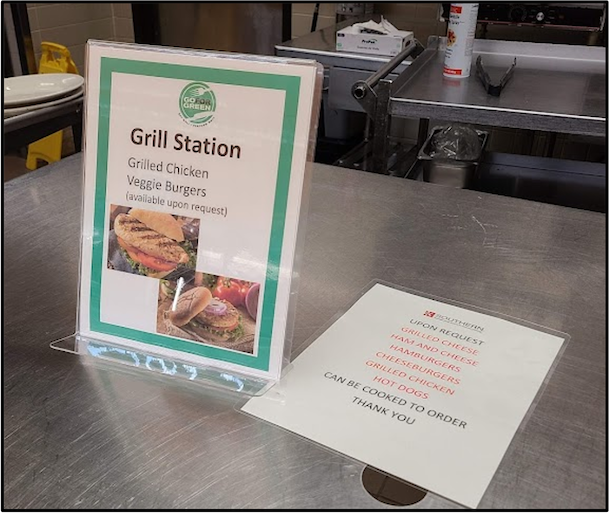
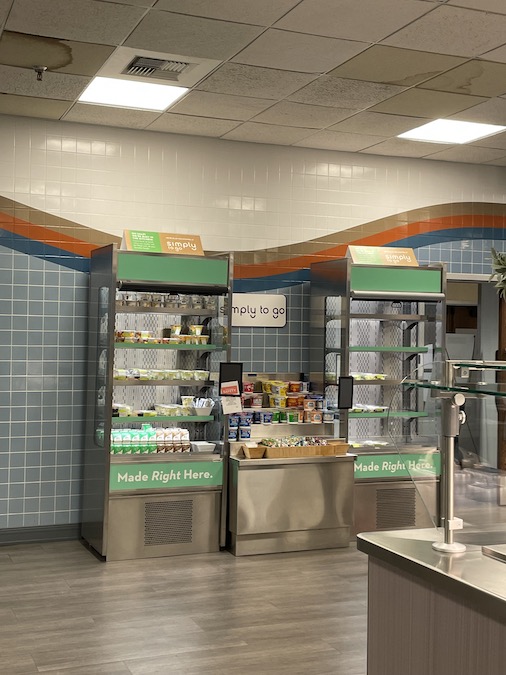
 Examples of clear and focused photos:

 Example of a photo that’s too far away and lacks clear focus:
Explore more ideas on how to best use photos.